Using sockets on your builds is a must and it’s something we can’t stress enough. We’ve all been there and built a board without using sockets…and either put the wrong part in or put in in backwards…or fried it with too much heat – it happens to everyone! It also makes swapping out the component far easier than desoldering a 32 leg chip for example!
You could use connector pins for every component on a board but that’s slightly overkill! The main components to socket are IC’s and Transistors. Below we’ll show examples of which sockets we find the best and how to use them.
Sockets for IC’s
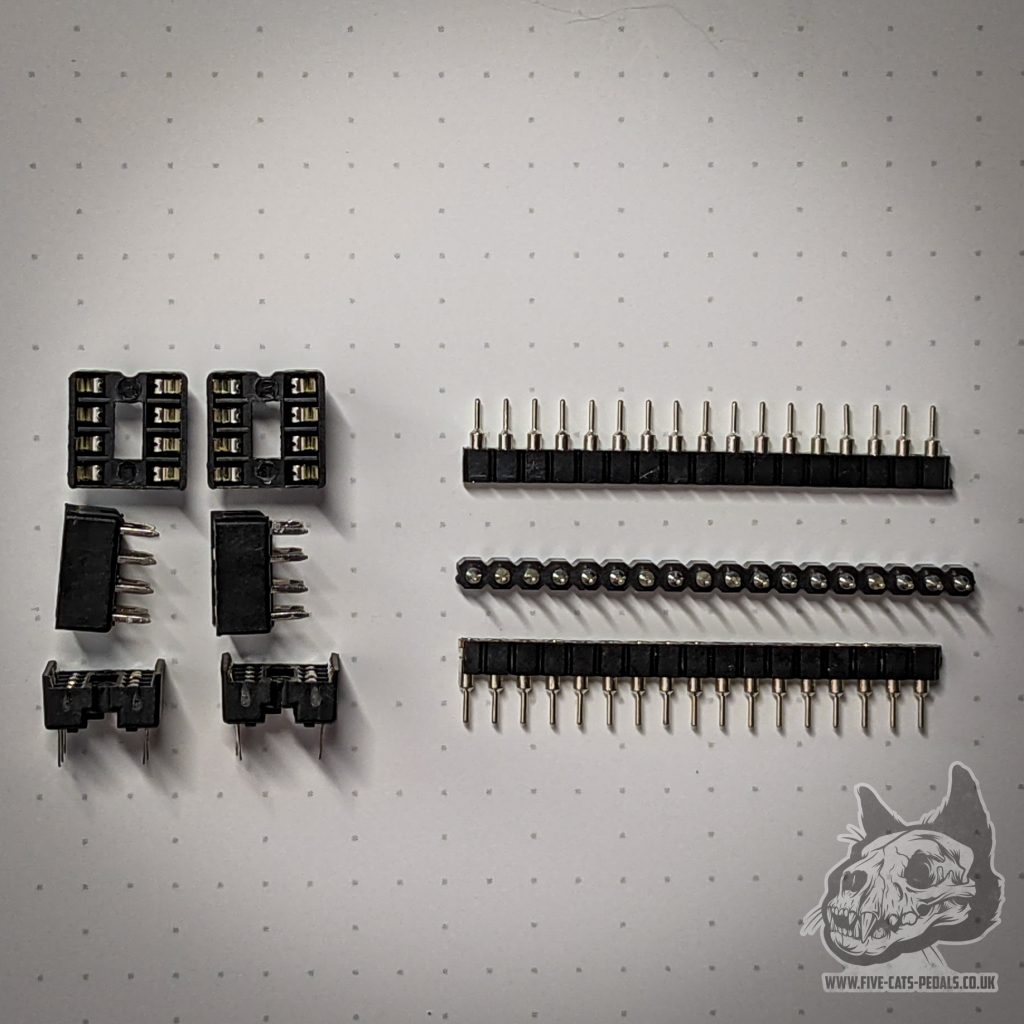
IC’s come in loads of flavours but will mostly be 8/16/32 pin – a good tip here is whilst you can get 8/16/32 pin options you can also use a series of 8 pin sockets to build the amount you need – we use the 8-pin block from BitsBox (https://www.bitsbox.co.uk/index.php?main_page=product_info&cPath=255_256&products_id=1931):

You’ll notice the sockets will have a little semi-circle removed at one end, this is supposed to be used for the end of the chip where PIN 1 is – however, if you happen to put the socket in the other way – it’s totally fine (just remember to put the chip in the correct way).

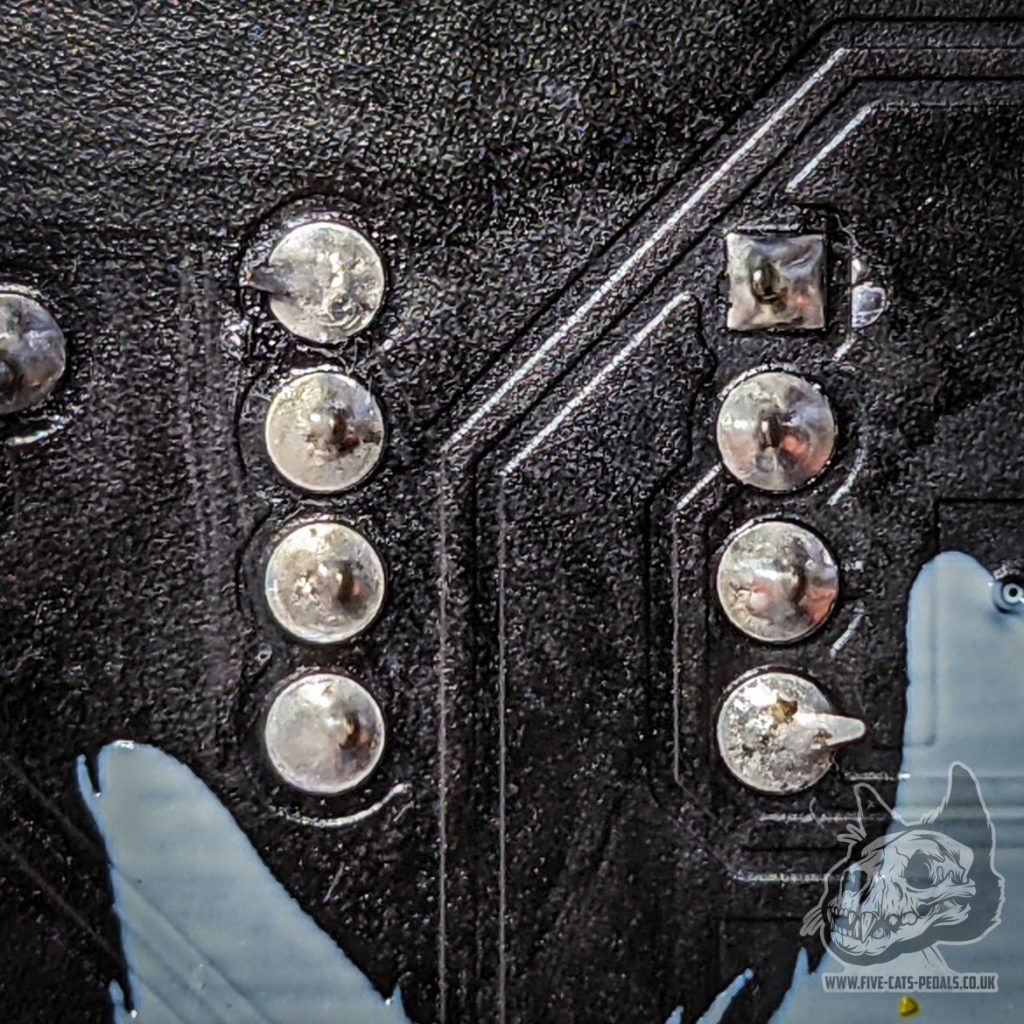
Pop the socket into place and holding it with one hand, flip the board over and just lightly bend a pin on each side outwards, to hold it in place – then solder each leg into place. Once you have them all done – flip the board over and pop your chip in.


Sockets for Transistors
The main types of transistors you will use come in 2 main styles, plastic and metal can – yes there are others such as fancy black glass ones that add tone and magical abilities…but mainly it’s these guys!.

The packages usually used are TO-92 (plastic), TO-18(metal can), TO-1(metal can) & TO-5(metal can). Depending on the board layout, it may have a footprint for TO-18 or TO-92, just remember to check the pin out’s of your transistor (easily done just enter the transistor model + pin out, eg 2N222A Pinout).
Depending on which footprint is on the board, will depend on which socket you need.
Sockets for TO-92
Our boards (we can’t tell you about other boards) are the perfect size for SIL (Single In Line) Turned Sockets 0.1″ Spacing (we use these strips available from BitsBox – https://www.bitsbox.co.uk/index.php?main_page=product_info&cPath=225_230&products_id=1648).
Simply snip 3 pins using a clippers – a tip: cut after pin 4, as these are prone to snap the plastic around the last pin, then use the clippers to tidy it up.

We find the easiest way to mount these is add a small amount of solder to one of the holes on the board where the transistor will go.

Then re-heat the solder point and slide the socket into place – use a pliers or tweezers!
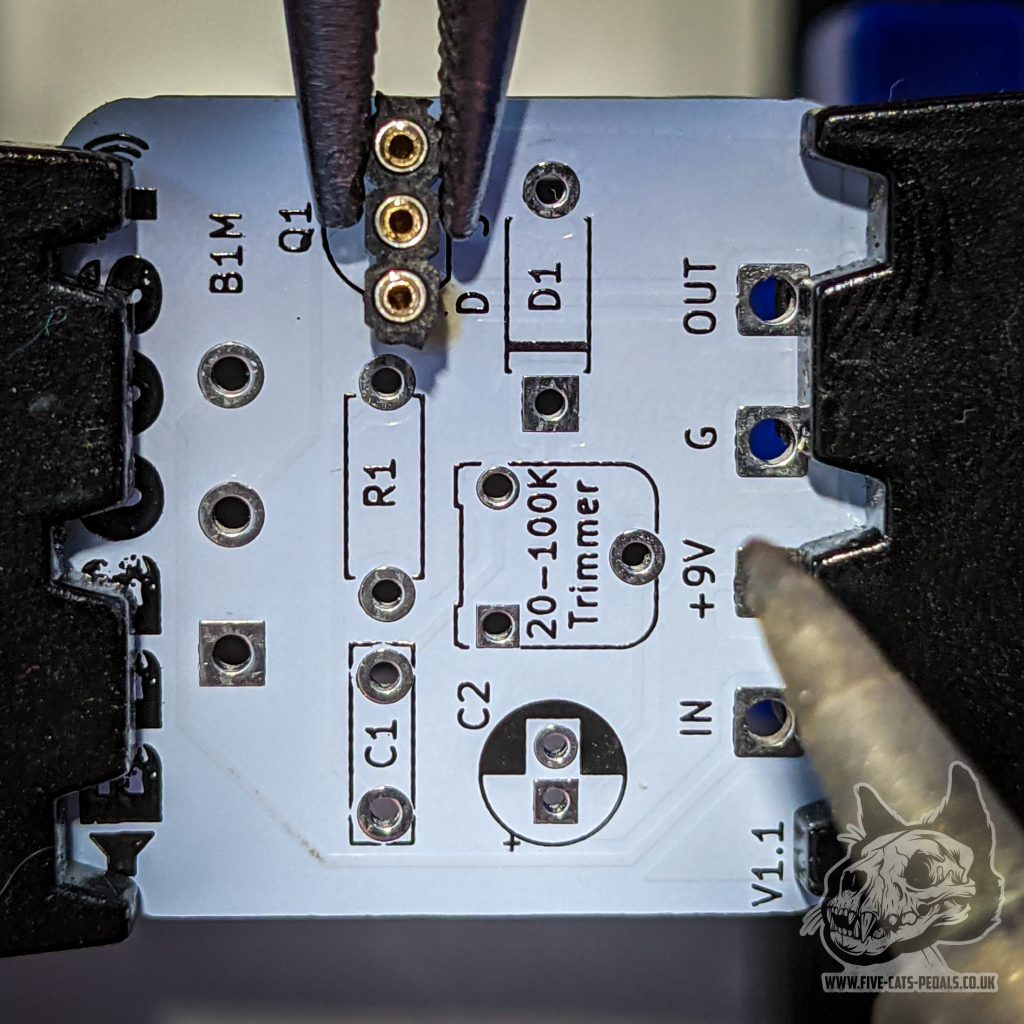
Then solder the other legs and your socket is ready to try your transistors.
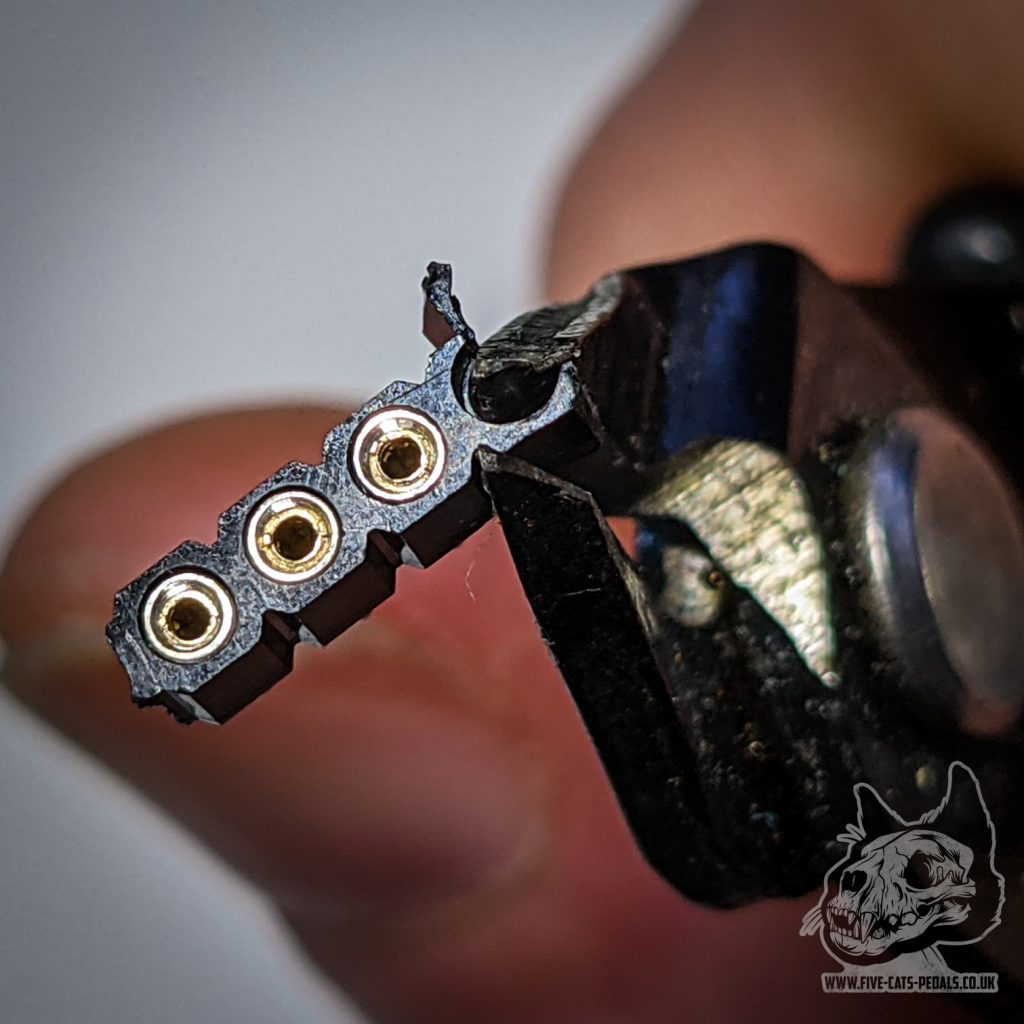
One extra little tip is put a tiny little bend in the end of the legs like the pic below, this helps hold the transistor tightly in place.


Once you’re happy with the transistors, we recommend trimming the legs down a bit and soldering just one of the legs to the socket – this isn’t a requirement, but we like to know it’s not going anywhere, a tip here is pop a crocodile clip onto the leg of the transistor before you solder it – this helps dissipate the heat!


Sockets for TO-5 / TO-18 /TO-1
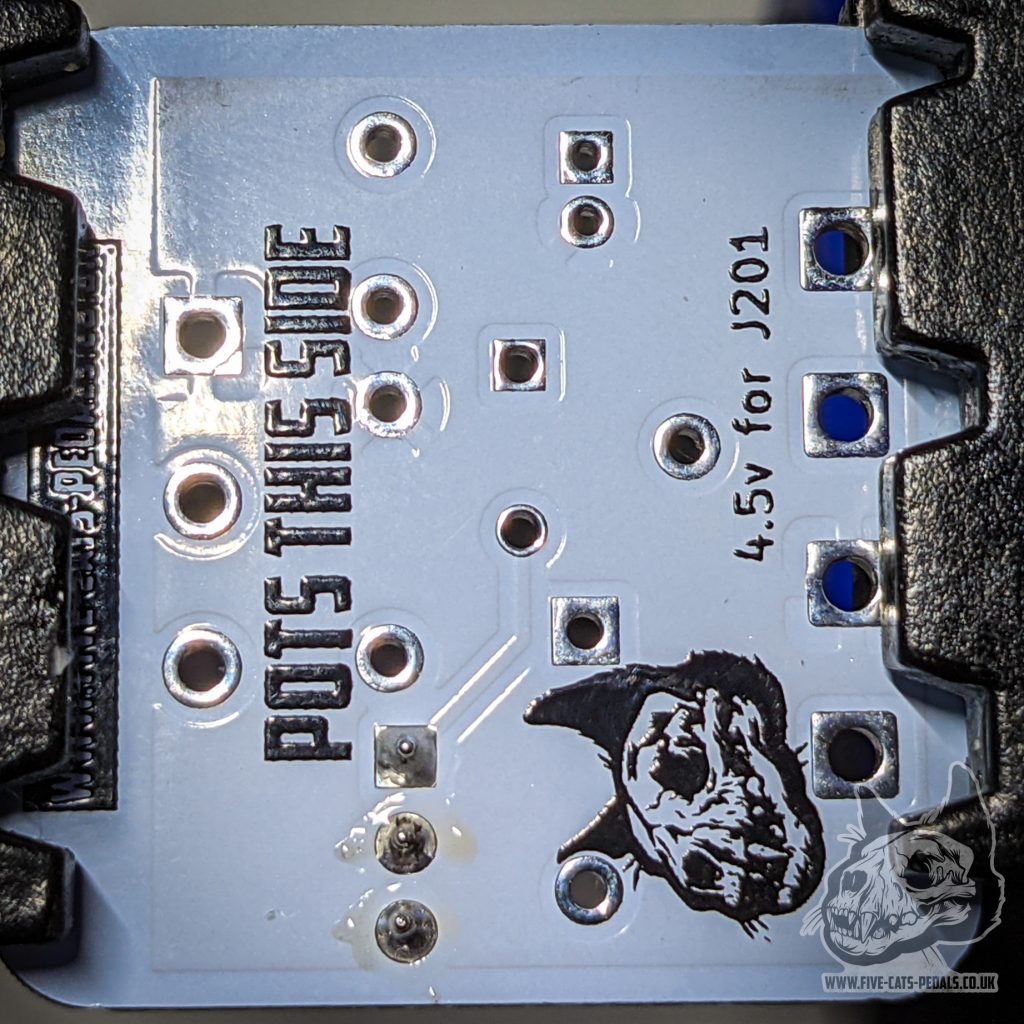
You can get specific sockets for these types of transistors – although they are pricey in comparison to the TO-92 inline versions. If you haven’t got any to hand or want to DIY you own socket – you can snip 3 single pins and mount them like the below:

This will act as a DIY transistor holder, simply solder the sockets and fit your transistor as above (making sure to match the pin outs!)